

Serverless computing has become increasingly popular in the field of cloud computing, with more organizations opting for cloud-based architectures. The introduction of serverless technologies has led to server management abstraction, where the focus has shifted towards coding and services rather than hardware and infrastructure.
When we refer to serverless, we mean that you don’t have to worry about managing, scaling or provisioning physical servers or virtual machines. The cloud provider is responsible for managing the server infrastructure and allocates resources dynamically based on the demand for your application. This model reduces operational burdens and optimizes costs by only charging for the compute resources consumed during the execution of your code. This is often referred to as “You pay for only what you use.”
With Knative you can now leverage the benefits of serverless computing, such as scalability, reduced operational overhead, and cost efficiency within your own Kubernetes clusters.
What is Knative and How Does It Work with Kubernetes?
Knative is an enterprise-level open-source platform that enhances Kubernetes with serverless capabilities, transforming the way cloud-native applications are developed, deployed, and managed. It consists of components that extend Kubernetes, introducing a layer of abstraction that simplifies serverless application development without hiding the powerful features of Kubernetes.
At its core, Knative offers two primary functionalities; Serving and Eventing. Serving is used for stateless applications and simplifies the deployment of code and automatically manages the lifecycle of your workloads. It offers support for scaling up and down to zero, traffic splitting for gradual rollouts, and the ability to bind running services to event streams. This allows you to focus on writing code, while Knative handles the complexities of deploying and scaling your application.
Eventing establishes a framework for building event-driven architectures where applications react to events from various sources and offers a robust system for managing event subscriptions, delivery, and handling. It enables services to communicate through events, regardless of the source, making it easier to build complex, responsive applications that react to a multitude of events in real time.
Knative sits on top of Kubernetes; this means it leverages its native features and resources to offer a smooth serverless experience. It doesn’t replace Kubernetes; instead, it enhances it and makes it more accessible and powerful for developers looking to deploy serverless architectures. Knative uses Kubernetes resources like Pods, Deployments, and Services, but introduces its own set of custom resource definitions (CRDs) for defining serverless behaviors. This includes resources for defining services, routes, configurations, and revisions in a declarative way that’s familiar to Kubernetes users.
Prerequisites
Before we begin with using Knative within a Kubernetes cluster, the upcoming sections will be practical and hands-on. To ensure that you can effectively follow along, you will need to have the following prerequisites ready:
- A Kubernetes cluster up and running – A cloud-based on Local kubernetes cluster will work fine.
- Two repositories created on DockerHub –
yourdockerhubusername/front-end:v1andyourdockerhubusername/back-end:v1 - Install Cosign and jq. Follow these steps from the official Knative documentation.
- Knative serving installed on your Kubernetes cluster. Follow these steps from the official Knative documentation.
- The Contour networking layer installed on your cluster. Follow these steps from the Knative official documentation.
- DNS configured using the following steps listed here.
Tip: For the purpose of this article, select Magic DNS (sslip.io). If you are using a local Kubernetes cluster for example Minikube be sure to enable Minikube Tunnel.
- The HPA autoscaling serving extension installed. Run the following command here.
- Knative CLI installed. Follow these steps.
- Have access to a text editor. In the text I will use Vim.
Note: The code in this article is demonstrated with a Linux OS, specifically Ubuntu 22.04 LTS. However, it can be applied to any operating system, provided that Kubernetes is correctly set up. Most of the code should work as is on other OS’s, but there may be some differences.
Deploying Your First Application with Knative Serving
Prior to getting started with Knative Serving, confirm Knative serving installation using the following command:
|
1 |
kubectl get pods -n knative-serving |
If you performed all there is in the prerequisites successfully, you should have very similar output:
|
1 2 3 4 5 6 7 8 9 |
mercy@mercy:~$ kubectl get pods -n knative-serving NAME READY STATUS RESTARTS AGE activator-58db57894b-fkbq9 1/1 Running 0 2m40s autoscaler-76f95fff78-fff7t 1/1 Running 0 2m38s autoscaler-hpa-85696784dd-vg2vz 1/1 Running 0 22s controller-7dd875844b-fncjh 1/1 Running 0 2m36s default-domain-5xnfw 0/1 Completed 0 31s net-contour-controller-86b5d8686f-wpxd4 1/1 Running 0 63s webhook-d8674645d-qgnp6 1/1 Running 0 2m32s |
Once you have confirmed that Knative serving is working and running in your cluster, open up a file named knative-serving.yaml with your preferred code editor, and add the following configuration settings:
|
1 2 3 4 5 6 7 8 9 |
apiVersion: serving.knative.dev/v1 kind: Service metadata: name: nodejs-app spec: template: spec: containers: - image: mercybassey/knative-serving:v1 |
This will deploy a Node.js application called mercybassey/knative-serving:v1 on DockerHub as a serverless workload within your Kubernetes cluster using Knative Serving. The service will automatically manage the lifecycle of your application, including routing, scaling up and down based on demand, and rolling out updates.
To create this service, execute the following command:
|
1 |
kubectl apply -f knative-serving.yaml |
Once this is deployed successfully, you should have a similar output to the one below:
|
1 2 3 |
mercy@mercy:~$ kubectl apply -f knative-serving.yaml ... service.serving.knative.dev/nodejs-app created |
Now confirm that your application is up and running as a Knative service using the following commands:
This will retrieve the list of deployments, pods and Knative services in your cluster.
|
1 2 3 |
kubectl get deployment kubectl get pods kubectl get ksvc |
You should have output like the following; However, be sure to take note of the URL as you’ll be needing it to view your application over a web browser:

Once you have retrieved the URL, head to your favourite browser and visit the Knative service:
|
1 2 |
<servce-magic-url> <service-magic-urel>/about |
You should see two default outputs. One for the home location, the other for the about one.


At this point, you have successfully, deployed your first serverless application with Knative serving.
Performing Traffic Splitting with Knative Serving
When deploying new versions of applications in a production environment, it is good to minimize risk and ensure a smooth transition. One effective strategy to achieve this is through canary releases, where a new version is gradually introduced to a subset of users before a full rollout. Knative serving supports sophisticated traffic management capabilities that make implementing such strategies straightforward and efficient. This includes the ability to split traffic between different revisions of your service and enables scenarios like not only canary releases but also blue-green deployments directly on your Kubernetes cluster.
To see this in action, edit your existing Knative service to use the image mercybassey/knative-serving:v2. Start by running the following command :
|
1 |
kubectl edit ksvc nodejs-app |
This command opens the Knative services YAML configuration file in a Vim editor. To edit, enter insert mode by typing i and change the image to mercybassey/knative-serving:v2:

Hit the ESC key and type :wq to save and close the vim editor; once successful, you should see the following:
|
1 2 3 |
mercy@mercy:~$ kubectl edit ksvc nodejs-app ... service.serving.knative.dev/nodejs-app edited |
Visit the service URL on both the home and /about pages in your browser. You should see the following:


Now to implement a canary release, first, identify the revisions you’re working with. You can do this by listing the available revisions for your service using the following command:
|
1 |
kn revisions list |
You will get output similar to this:
|
1 2 3 4 |
mercy@mercy:~$ kn revisions list NAME SERVICE TRAFFIC TAGS GENERATION AGE CONDITIONS READY REASON nodejs-app-00002 nodejs-app 100% 2 3m33s 3 OK / 4 True nodejs-app-00001 nodejs-app 1 9m47s 3 OK / 4 True |
Based on the output provided, it is evident that the latest version of your application, nodejs-app-00002, has been assigned 100% of the traffic. Use the following command to implement a canary release, where 30% of the traffic is directed to the new version, and 70% is directed to the previous version:
|
1 2 3 |
kn service update nodejs-app \ --traffic nodejs-app-00001=70 \ --traffic @latest=30 |
Once executed, you should have similar output to the following indicating that the update was successful:
|
1 2 3 4 5 6 7 8 9 10 |
mercy@mercy:~$ kn service update nodejs-app \ --traffic nodejs-app-00001=70 \ --traffic @latest=30 ... Updating Service 'nodejs-app' in namespace 'default': 0.446s Waiting for Envoys to receive Endpoints data. 0.448s Waiting for load balancer to be ready 0.511s Ready to serve. Service 'nodejs-app' with latest revision 'nodejs-app-00002' (unchanged) is available at URL: http://nodejs-app.default.45.79.61.253.sslip.io |
By executing the kn revisions list command again you should see the following which confirms the update made:
|
1 2 3 4 |
mercy@mercy:~$ kn revisions list NAME SERVICE TRAFFIC TAGS GENERATION AGE CONDITIONS READY REASON nodejs-app-00002 nodejs-app 30% 2 5m12s 3 OK / 4 True nodejs-app-00001 nodejs-app 70% 1 11m 3 OK / 4 True |
At this point, you have successfully implemented a canary release using Knative. This means that 70% of the traffic is directed to the previous version of your application called nodejs-app-0001 and 30% is directed to the new version which is called nodejs-app-00002. This allows you to test the performance of your new version while still keeping most of the traffic on the old version. Based on the results of your testing, you can adjust the traffic percentage as needed.
Deploying FullStack Applications with Knative Serving
Until now, you have seen how to deploy an application with Knative Serving, but how do you do this for full stack applications that respond to HTTP requests? Similar to how you deployed your first application, you will need to deploy your backend and frontend as two separate Knative services.
First clone the following Git repository to your local machine using the following command:
|
1 |
git clone git@github.com:mercybassey/knative.git |
Once cloned run the command cd knative and open it up with your preferred code editor. Go into the frontend directory (cd frontend) and run the following commands to build and push the frontend to your Docker Hub repository:
|
1 2 3 4 |
# replace <yourdockerhubusername> with your # own dockehub username docker build -t <yourdockerhubusername>/front-end:v1 . docker push <yourdockerhubusername>/front-end:v1 |
Next run cd into the backend directory and execute the following commands which is similar to what you did for the frontend:
|
1 2 3 4 |
# replace <yourdockerhubusername> with your # own dockehub username docker build -t <yourdockerhubusername>/back-end:v1 . docker push <yourdockerhubusername>/back-end:v1 |
Once successful, create a file called kfullstack.yaml and populate it with the following configuration settings:
|
1 2 3 4 5 6 7 8 9 10 11 12 13 14 15 16 17 18 19 20 21 22 23 |
apiVersion: serving.knative.dev/v1 kind: Service metadata: name: nodejs-backend spec: template: spec: containers: - image: mercybassey/back-end:v1 ports: - containerPort: 3000 --- apiVersion: serving.knative.dev/v1 kind: Service metadata: name: vuejs-frontend spec: template: spec: containers: - image: mercybassey/front-end:v1 ports: - containerPort: 80 |
Apply this using the following command:
|
1 |
kubectl apply -f kfullstack.yaml |
Once applied successfully you should see the following output:
|
1 2 3 4 |
mercy@mercy:~$ kubectl apply -f kfullstack.yaml … spec.template.spec.containers[0].securityContext.allowPrivilegeEscalation, spec.template.spec.containers[0].securityContext.capabilities, spec.template.spec.containers[0].securityContext.runAsNonRoot, spec.template.spec.containers[0].securityContext.seccompProfile service.serving.knative.dev/nodejs-backend created service.serving.knative.dev/vuejs-frontend created |
When you go ahead to run the command kubectl get kvc you should now see two new services nodejs-backend and vuejs-frontend services like so making it a total of three services:
|
1 2 3 4 5 |
mercy@mercy:~$ kubectl get ksvc NAME URL LATESTCREATED LATESTREADY READY REASON nodejs-app http://nodejs-app.default.45.79.61.253.sslip.io nodejs-app-00002 nodejs-app-00002 True nodejs-backend http://nodejs-backend.default.45.79.61.253.sslip.io nodejs-backend-00001 nodejs-backend-00001 True vuejs-frontend http://vuejs-frontend.default.45.79.61.253.sslip.io vuejs-frontend-00001 vuejs-frontend-00001 True |
At this point viewing both services over the browser will yield the following outputs for the nodejs-backend and vuejs-frontend services respectively:

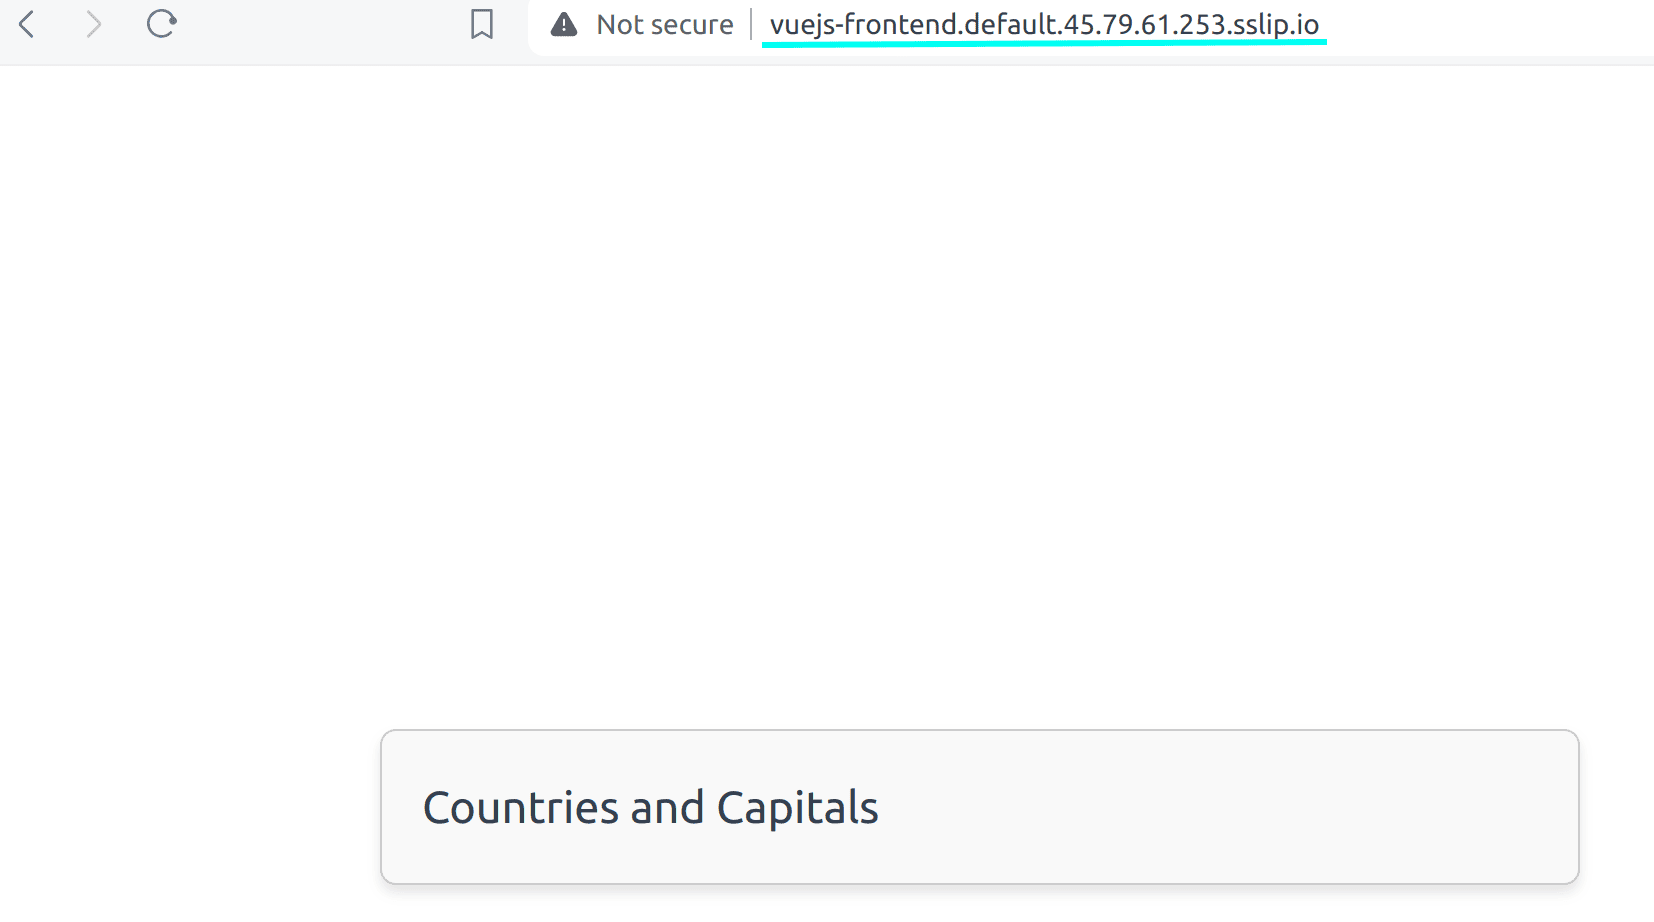
From the output above, it is evident that the vuejs-frontend service is not currently consuming the data from the nodejs-backend service, which is the expected behavior. This is because the route used in the application code to interact with the backend is different from the magic URL given to the nodejs-backend service.
To view the data from the backend, head back to your cloned application, go into the /frontend/src/components/Countries.vue and replace the axios.get('knative-magic-endpoint/countries') with your nodejs-backend magic URL as in axios.get('<http://vuejs-frontend.default.45.79.61.253.sslip.io/countries>')
Once done, rebuild the frontend and push to your docker hub repository:
|
1 2 |
docker build -t <yourdockerhubusername>/front-end:v1.0 . docker push <yourdockerhubusername>/front-end:v1.0 |
Next edit the vuejs-frontend service to use the <yourdockerhubusername>/front-end:v1.0 image instead. Upon a successful edit, you should be able view the data from the nodejs-backend on your vuejs-frontend service like so by just refreshing the page:

Conclusion
In this article, you have successfully learned how to get started with Knative. I believe you can agree with me that it makes deploying applications in Kubernetes in a serverless manner a breeze. At this point based on the traffic generated by your application, knative scales up your application and if there is no traffic at all it scales it down, which makes Knative more interesting. With what you have learned, you are now ready to go serverless with Knative. You can read more about Knative autoscaling here, to see how Knative eventing works, you can visit the official knative eventing documentation.


Load comments